So tonight i want to share with you the project that i designed and shared with my crafty friends. It's a folded minibook, with little pockets that you can place little momentos and photos in and it features some of my most favourite Stampin' Up! projects. So here it is:
 |
| The front of the mini-book! |
Here's a little demo of how it is done:
 |
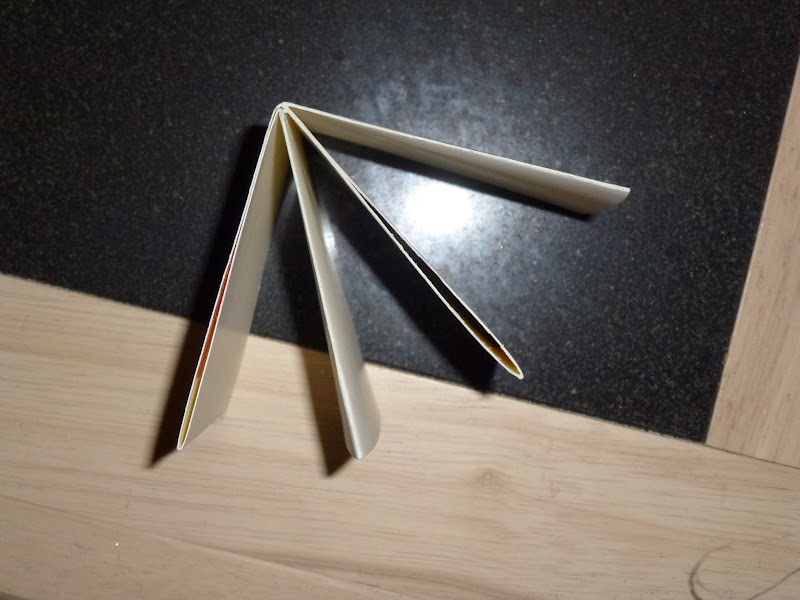
| As i said before, you will need one piece of card. A4 length x A5 width. Fold it into 8 equal squares with your 'Bone Folder' (take a bit of time doing this and do it neatly!) Then made a cut with your guillotine as shown in the diagram above and then place the 'Red Sticky Tape' as show above. |

And stick everything into place to create your mini-book:
Then it's time to decorate it!!
 |
| Once you have created the structure and folded it into place, run a piece of 'Red Sticky Tape' along the front and then run a piece of ribbon along it (in this instance i used a piece of 'Pool Party; 'Ruffled Ribbon'. Over that i glued two piece of the beautiful 'Everyday Enchantment DSP' squares on the front and the back. On the front i glued a 'Lucky Limeade' 'Scallop Circle' and then a butterfly punched using the 'Butterfly Punch' out of 'Everyday Enchantment DSP', with a couple of 'Basic Pearls' running down the centre! |
 |
| Notice that i used the '1.2" Circle Punch' to create some little tabs. You could then place little momentos/ photos etc easily in them!! |
Don't forget the beautiful paper i have used for this project you can get for FREE if you make a qualifying Sale-A-Bration order by the end of the month!! So get your order in now. Email me at: amyjtidd@gmail.com and for this month only i will give you FREE P&P on all sale-a-bration orders (usually £4.95)
What a lovely idea, I'm going to make one right away! And I'm going to put tags in the pockets.
ReplyDeleteThis is fantastic! Has given me lots of ideas I will definitely be trying this when I can find some time to craft!! xxx
ReplyDelete